Day 11:I2C Driver (Part 2) - 這是一個間諜檔案!把 I2C 的傳輸包成字元驅動程式
前面已經用了一個 i2c 的位址,但是什麼都沒有做。所以接下來就想要做多一點事情。最直覺的問題就是能不能傳輸一些資訊給 Arduino?答案是可以的。可以把 I2C 的傳輸用字元驅動程式 (Character Device) 包裝起來,然後就可以在 userspace 用讀寫檔案的那些系統呼叫,去做到 I2C 傳輸了!
硬體方面,就是 Raspberry Pi Model B 的 I2C 與 Arduino 的 I2C 對接 (GPIO2 跟 Arduino 的 A4 連接; 把 GPIO3 跟 Arduino 的 A5 連接。最後,再把地線接在一起,就完成硬體的設置了)。
Part 1:I2C 傳輸的 API
首先來試試看怎麼使用核心中的 I2C 相關的 API。這方面可以參考核心文件中 Implementing I2C device drivers 中的 Sending and receiving 一節。這篇當中有提到:
If you can choose between plain I2C communication and SMBus level communication, please use the latter. All adapters understand SMBus level commands, but only some of them understand plain I2C!
所以,雖然核心中有 i2c 的 API,不過接下來都會使用 SMBus 系列的。反正後面只是前面的子集嘛。
Step 1 - 1:Arduino 程式
首先,Arduino 程式非常的簡單:他會讀到一個 byte 就印一個 byte:
#include <Wire.h>
#define ARDUINO_ADDR 0x8

void setup()
{
    Wire.begin(ARDUINO_ADDR);
    Wire.onReceive(receiveEvent);
    Serial.begin(9600);
}

void loop()
{
    delay(100);
}

void receiveEvent(int nbyte)
{
    while (Wire.available()) {
        char c = Wire.read();
        Serial.println(c);
    }
}
接下來要想辦法生一個驅動程式寫東西給這個 Arduino。
Step 1 - 2:Kernel Module 程式
現在先來測試看看核心中用來傳輸 I2C 的函數用起來是什麼樣子。現在先做一件事情:當這個 Driver 被配對到 Arduino 上面時,在 probe 的最後面傳輸 Hello, Arduino! 這個訊息給 Arduino:
# include <linux/module.h>
# include <linux/kernel.h>
# include <linux/init.h>
# include <linux/i2c.h>
# include <linux/string.h>

static int dummy_probe(struct i2c_client *client, const struct i2c_device_id *id)
{
    pr_info("Dummy device is being probed.\n");
    char *info = "Hello, Arduino!\n";
    for (int i = 0; i < strlen(info); i++) {
        i2c_smbus_write_byte(client, info[i]);
    }
    return 0;
}

static int dummy_remove(struct i2c_client *client)
{
    pr_info("Dummy device is removing.\n");
    return 0;
}

static struct of_device_id dummy_id_tables [] = {
    { .compatible="arduino", },
    { }
};

MODULE_DEVICE_TABLE(of, dummy_id_tables);

static struct i2c_driver dummy_drv = {
    .probe = dummy_probe,
    .remove = dummy_remove,
    .driver = {
        .name = "dummy device 0.1",
    .owner = THIS_MODULE,
    .of_match_table = dummy_id_tables,
    },
};

module_i2c_driver(dummy_drv);
MODULE_LICENSE("GPL");
Step 1 - 3:測試結果
首先打開 Arduino IDE 的序列埠,接著準備把這個模組載入。假定這個模組叫做 dummy_i2c_chrdrv.ko,把他用 insomod 載入之後:
$ sudo insmod dummy_i2c_chrdrv.ko
就會發現 Arduino IDE 上出現了預期的輸出:
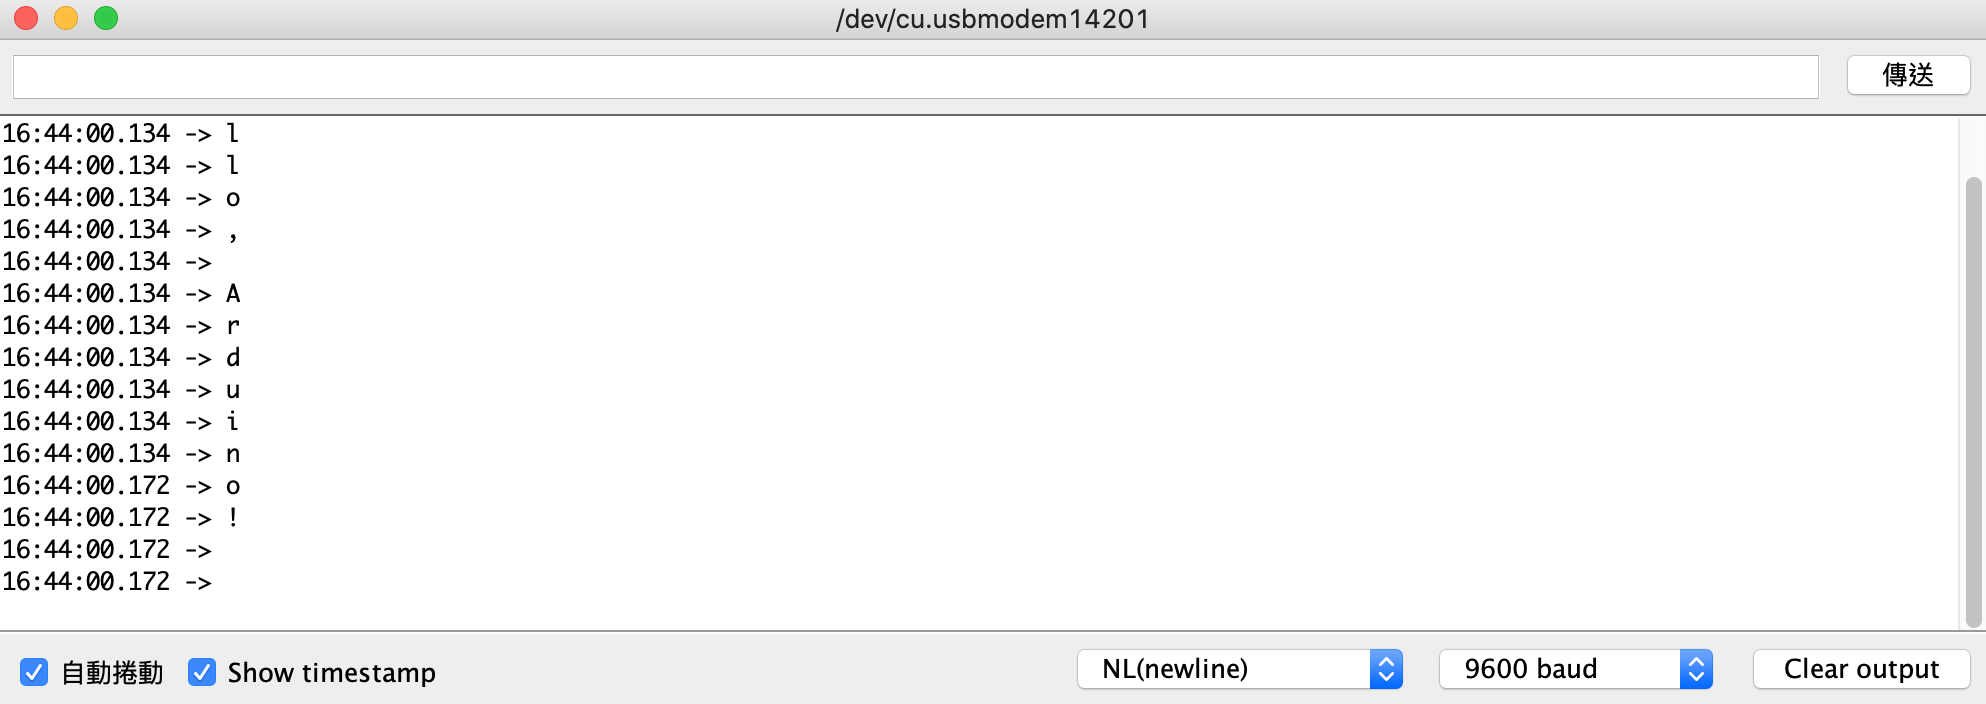
另外一方面,用 dmesg 的話,也可以找到 probe 函數中的資訊:
...
[ 1380.449096] Dummy device is being probed.
Part 2:Character Device 任務清單
接下來就是要正式寫一個字元驅動程式了!這個字元驅動程式其實就是一個間諜檔案:打開他的方法像檔案,寫他的方法像檔案,但寫的東西並不是變成檔案,而是傳輸給 I2C 上的 Arduino。而要做到這點,就要提供「要怎麼假裝成檔案」,也自己要提供一組檔案操作對應的實作。
關於 Character Device 的描述可以參考 LDD3 關於字元驅動程式的描述。簡單來說,就是:
- 要把 I2C 的傳輸包成一組檔案操作的函數
- 把他註冊給核心
更詳細一點地說,這些任務包含了:
任務 1:實作 file_operations 的操作
這個意思是要提供指向一組 open, read, write 的 file_operations 實作的函數指標形成的結構,讓這一切的傳輸可以「假裝」像是對一個檔案進行讀寫。使 User space 在進行 read, write 等等系統呼叫時,看起來就像是真的在跟檔案互動。這個結構在 include/linux/fs.h 中:
struct file_operations {
...
    loff_t (*llseek) (struct file *, loff_t, int);
    ssize_t (*read) (struct file *, char __user *, size_t, loff_t *);
    ssize_t (*write) (struct file *, const char __user *, size_t, loff_t *);
...
    long (*unlocked_ioctl) (struct file *, unsigned int, unsigned long);
    long (*compat_ioctl) (struct file *, unsigned int, unsigned long);
    int (*mmap) (struct file *, struct vm_area_struct *);
    unsigned long mmap_supported_flags;
    int (*open) (struct inode *, struct file *);
...
};
雖然說是一個很大的結構體,但實際上並不用每個方法都提供實作。比如說:i2c-dev 這個例子中,提供的各種檔案操作是這樣:
static const struct file_operations i2cdev_fops = {
    .owner        = THIS_MODULE,
    .llseek        = no_llseek,
    .read        = i2cdev_read,
    .write        = i2cdev_write,
    .unlocked_ioctl    = i2cdev_ioctl,
    .compat_ioctl    = compat_i2cdev_ioctl,
    .open        = i2cdev_open,
    .release    = i2cdev_release,
};
總之,任務就是想辦法提供 read, write 那些檔案操作。只要 userspace 對這個檔案進行各種檔案相關的系統呼叫時,可以這個 file_operations 可以把資料交差給 userspace,不管背後是哪邊來的資料,就安然無恙。
以這邊的例子為例,write 就是從 Raspberry Pi 透過 I2C 寫資料給 Arduino,所以這個 write 可能就會像這樣:
static ssize_t arduino_i2c_write(struct file *file, char __user *buf, size_t count,
        loff_t *offset)
{
    ...
    i2c_smbus_write_byte(client, ...);
    return 0;
}

struct file_operations arduino_i2c_fops = {
    .write = arduino_i2c_write
};
這邊會發現有一個問題:i2c_smbus_write_byte 這個函數需要吃 struct *i2c_client,也就是他必須要知道寫的時候,i2c slave 的相關資訊。但是這個 write 的 prototype 中並沒有這個資料結構,所以要想辦法給他。
任務 2:提供 i2c_client
struct i2c_client 在 probe 開始進行的時候,就會得到了。也就是在這個函數的 client 那個參數:
static int dummy_probe (struct i2c_client *client, const struct i2c_device_id *id)
{
    ...
}

static struct i2c_driver dummy_drv = {
    .probe = dummy_probe,
    .remove = dummy_remove,
    .driver = {
        .name = "dummy device 0.1",
    .owner = THIS_MODULE,
    .of_match_table = dummy_id_tables,
    },
};
所以可以在 probe 開始的時候,就把這個東西紀錄下來,然後用某些方法提供給 write ,那就可以達成任務了。而要做到這件事,可以定義一個新的結構體:
struct arduino_i2c_cdev {
    i2c_client *client;
    struct cdev cdev;
};
然後在 probe 裡面放進去:
static int dummy_probe (struct i2c_client *client, const struct i2c_device_id *id)
{
    ...
    struct *arduino_i2c_cdev = kzalloc(sizeof(struct arduino_i2c_cdev));
    arduino -> client = client;
    ...
}
這樣就把 Arduino 在 I2C 上的資訊記錄下來了。不過,這似乎沒有解決問題,因為記錄下來之後還是要想辦法傳進 read 中。
任務 3:傳遞 i2c_client 給 write 函數
雖然 i2c_client 已經記錄下來了,不過在 write 的時候還是要想辦法傳進去。這時就把腦筋動到 open 上面。open 的時候可以把 i2c_client 放到 struct file 的 private_data 裡面,然後 write 在寫這個檔案時,就可以從裡面把他取出來。
static ssize_t arduino_i2c_open(struct inode *inode, struct file *file)
{
    ...
    file -> private_data = client;
    ...
}

static ssize_t arduino_i2c_write(struct file *file, char __user *buf, size_t count,
        loff_t *offset)
{
    ...
    sturct *i2c_client client = file -> private_data;
    i2c_smbus_write_byte(client, ...);
    ...
}
不過,問題是這個 client 要怎麼出現在裡面?這時候可以把頭腦動到 inode 上面。參考 LDD3 中的章節可知:inode 中有一個欄位是 i_cdev。當這個 inode 所屬的檔案是某個 character device 時這個欄位會自動指向對應的 cdev 結構。具體的程式可以參考 include/linux/fs.h:
struct inode {
    ...
    union {
        const struct file_operations    *i_fop;    /* former ->i_op->default_file_ops */
        void (*free_inode)(struct inode *);
    };
    struct file_lock_context    *i_flctx;
    struct address_space    i_data;
    struct list_head    i_devices;
    union {
        struct pipe_inode_info    *i_pipe;
        struct block_device    *i_bdev;
        struct cdev        *i_cdev;
        char            *i_link;
        unsigned        i_dir_seq;
    };
    ...
};
不過,因為剛剛註冊 cdev 的時候,是用 arduino -> cdev 下去註冊的,所以在開這個檔案時,i_cdev 對應的 struct cdev 跟 arduino 中對應的 cdev 就會是同一個 (因為剛剛就是拿他下去註冊的嘛)。也就是下面兩個東西是一樣的:
inode->i_cdev&(arduino -> cdev)
關鍵:container_of
這兩個東西一樣有什麼用處?答案是 container_of 這個巨集。他的原始程式可以字 include/linux/kernel.h 中找到。
假定 type 是某個結構體,而他的定義中有一個成員叫做 member。也就是像這樣:
struct type {
    ...
    foo member;
};
而 ptr 現在指向某一個特定的 type 結構體中的 member。也就是:
struct type *bar = ...;
foo *ptr = &(bar -> member);
那麼,跟 container_of 說「我現在知道 ptr 是個指向某一個 type 結構體中名稱是 member 的成員的指標。請告訴我那個包住 ptr 所指到的 member 的那個結構體 type 的起始位置在哪裡?」他就會把他生出來。也就是:
container_of(ptr, type, member) // &bar
這個東西有什麼用呢?剛剛提到下面這兩個東西是指到同一個地方:
inode->i_cdev&(arduino -> cdev)
現在有的事 1. ,可是同時也有 2. 的結構體定義。所以就可以在 open 中使用下面這個東西,找到 cdev 所屬的那個 struct arduino_i2c_cdev 的位置:
struct arduino_i2c_cdev *arduino =
        container_of(inode->i_cdev, struct arduino_i2c_cdev, cdev);
然後就可以用:
struct i2c_client *client = arduino -> client;
來找出 client 在哪邊。
結論:怎麼把 i2c_client 丟給 write?
綜合以上,既然 open 中可以找到 struct i2c_client,就可以把他放到 struct file 中的 private_data 中,之後 write 在使用時,就可以知道要傳到哪邊。也就是:
- 先用
container_of去用inode-> cdev中的這個成員 (因為剛剛註冊的關係,所以跟struct arduino_i2c_cdev中的cdev成員會是同一個) 反找回原先的strct arduino_i2c_cdev的結構體的頭。 - 找之後就可以順籐摸瓜,從
strct arduino_i2c_cdev找出i2c_client。 - 找到之後 把
i2c_client放到struct file中的void *private_data中。 - 等到
write的時候,就可以從struct file的指標中把他取出來。
具體來說,就是像下面這樣:
static ssize_t arduino_i2c_open(struct inode *inode, struct file *file)
{
    struct arduino_i2c_cdev *arduino = NULL;
    arduino = container_of(inode->i_cdev, struct arduino_i2c_cdev, cdev);
    file -> private_data = arduino -> client;
    ...
}

static ssize_t arduino_i2c_write(struct file *file, char __user *buf, size_t count,
        loff_t *offset)
{
    ...
    sturct *i2c_client = file -> private_data;
    i2c_smbus_write_byte(client, ...);
    ...
}
這樣一來,在 write 裡面時,就可以使用 file->private_data 這個欄位去取出對應的 struct i2c_client,然後用它進行 I2C 傳輸了。
任務 4:註冊 cdev
這個就是 Character Device 的一些標準流程:比如說要申請一組 major/minor number、初始化 cdev、在 sysfs 加上一些條目等等。一樣,這邊可以參考 LDD3。大致上的流程會像下面這樣:
static int dummy_probe (struct i2c_client *client, const struct i2c_device_id *id)
{
    struct *arduino_i2c_cdev arduino = kzalloc(sizeof(struct arduino_i2c_cdev));
    ...
    alloc_chrdev_region(...);
    cdev_init(&arduino->cdev, &arduino_i2c_fops);       // initialize character device
    cdev_add(...);        // register character device
    class_create(...);    // add sysfs directory
    device_create(...);   // add sysfs file
    ...
    arduino -> client = client;
    ...
}
Part 3:實作出來
下面其實就是依照 LDD3 中第三章的部分乖乖的把註冊 character device 的流程走一遍,只是 write 的部分變成使用 I2C 傳送。
因為 probe 配對成功之後做的第一件事,就把所有 character device 的註冊流程都要在 probe 裡面做完,這樣 probe 完之後就自動有一個 Character Device 了。
Step 2 - 1:註冊 major 跟 minor number
major 跟 minor number 是識別裝置驅動程式的一種依據。具體的細節可以去參考 LDD。而這兩個數字其實是 dev_t 的高位跟低位,而要申請到一組 major/minor number,可以用 alloc_chrdev_region 這個函數:
static int dummy_probe(struct i2c_client *client, const struct i2c_device_id *id)
{
    ...
    dev_t *dev = NULL;
    int err = alloc_chrdev_region(dev, 0, 1, ARDUINO_DEV_NAME);
    if (err < 0) {
        pr_err ("Failed in alloc_chrdev_reion for arduino.\n");
    goto out_alloc_chrdev;
    }
    ...
Step 2 - 2:加上 sysfs 目錄
這邊加上的 class 會變成 sys 底下的資料夾:
    ...
    arduino_class = class_create(THIS_MODULE, ARDUINO_DEV_NAME);
    if (!arduino_class) {
        pr_err ("Failed to create sysfs class.\n");
    goto out_sysfs_class;
    }
    ...
Step 2 - 3:實作 open
這邊就是用剛剛的 container_of 把找出 arduino_i2c_cdev 起頭的位置,然後把他裝進 filp 的 private_data 中,等一下給 write 用:
static ssize_t arduino_i2c_open(struct inode *inode, struct file *filp)
{
    struct arduino_i2c_cdev *arduino = container_of(inode->i_cdev, struct arduino_i2c_cdev, cdev);
    if (!arduino) {
        pr_err("Cannot extrace aduino structure from i_cdev.\n");
    return -EINVAL;
    }
    filp -> private_data = arduino -> client;
    return 0;
}
這其實有點雞生蛋、蛋生雞的問題:因為這時候還沒把 cdev 註冊,所以這個 inode->i_cdev 有點像是天外飛來一筆。但反正等一下會在 probe 中把他生出來。這兩者當中總要有一個先做完。
Step 2 - 4:實作 write
剛剛的 open 把 struct i2c_client 寄放在 filp->private_data 中之後,write 就可以把他拿來用:
static ssize_t arduino_i2c_write(struct file *filp, const char __user *buf, size_t count,
        loff_t *offset)
{
    struct i2c_client *client = filp -> private_data;
    if (!client) {
        pr_err("Failed to get struct i2c_client.\n");
    return -EINVAL;
    }
    for (int i = 0; i < count; i++) {
        i2c_smbus_write_byte(client, buf[i]);
    }
    return 0;
}
Step 2 - 5:註冊 cdev
這裡就是把整個 arduino_i2_cdev 的結構生出來,然後對裡面的 cdev 成員做適當的註冊:
    ...
    struct arduino_i2c_cdev *arduino = kzalloc(sizeof(struct arduino_i2c_cdev), GFP_KERNEL);
    if (!arduino) {
    pr_err("Failed to allocate memory.\n");
        goto out_oom;
    }
    arduino -> client = client;

    cdev_init(&(arduino -> cdev), &arduino_i2c_fops);
    arduino->cdev.owner = THIS_MODULE;
    err = cdev_add(&(arduino -> cdev), dev, 1);
    if (err) {
    pr_err("Failed to register cdev.\n");
        goto out_cdev_add;
    }
    ...
Step 2 - 6:在 sysfs 目錄下新增裝置節點
剛剛做用了一個 class_create 在 sysfs 下創造了一個 arduino 的 class,現在則是在這個 class 之下,創造一個表示現在餓個裝置的 arduino 的節點:
    ...
    struct device *device = device_create(arduino_class, NULL, dev, NULL, ARDUINO_DEV_NAME);
    if (!device) {
        pr_err("Failed to create device entry under sysfs.\n");
    goto out_device;
    }
    ...
到這邊大致上的程式就完成了,剩下的主要是清理與例外處理的部分。完整的程式放在最後面的附錄。
Part 4:實驗
接下來就看看剛剛說的東西有沒有真的動起來。
Step 3 - 1:查看 sysfs
首先,載入模組之後,可以先看看 sysfs 中的條目:
$ ls /sys/class
就會發現有一個 arduino 出現在裡面:
arduino          i2c-adapter       misc          spi_master
bcm2708_vcio     i2c-dev           mmc_host      spi_slave
bcm2835-gpiomem  ieee80211         net           thermal
bdi              input             power_supply  tty
block            iscsi_connection  pwm           uio
bluetooth        iscsi_endpoint    raw           vc
bsg              iscsi_host        rc            vchiq
devcoredump      iscsi_iface       regulator     vc-mem
dma              iscsi_session     rfkill        vc-sm
dma_heap         iscsi_transport   rtc           video4linux
gpio             leds              scsi_device   vtconsole
graphics         lirc              scsi_disk     watchdog
hidraw           mdio_bus          scsi_host
hwmon            mem               sound
這時可以更近一步,進去這個資料夾中:
$ cd /sys/class/arduino
$ ls
這時就發現有 arduino 這個 device 的節點:
arduino
再進去這個資料夾之後,再 ls 一次可以,發現有一些資料夾:
dev power subsystem uevent
其中,dev 裡面的兩個數字,就是 major 與 minor number:
$ cat dev
239:0
Step 3 - 2 測試程式
接下來寫一個簡單的程式,看看能不真的把東西寫到 Arduino 的序列埠中。首先打開 Arduino 的序列埠。假定現在有另外一個程式叫 test,長成下面這個樣子:
#include <unistd.h>
#include <fcntl.h>
#include <string.h>
#include <stdio.h>

int main()
{
    int fd = open("/dev/arduino", O_WRONLY);
    if (fd < 0) {
        printf("Error: cannot open file.\n");
    return -1;
    }
    char *msg = "Arduino i2c char device test\n";
    write(fd, msg, strlen(msg));
}
把他編譯之後,執行:
$ sudo ./test
這時候就可以在 Arduino 的序列埠看到對應的輸出了:
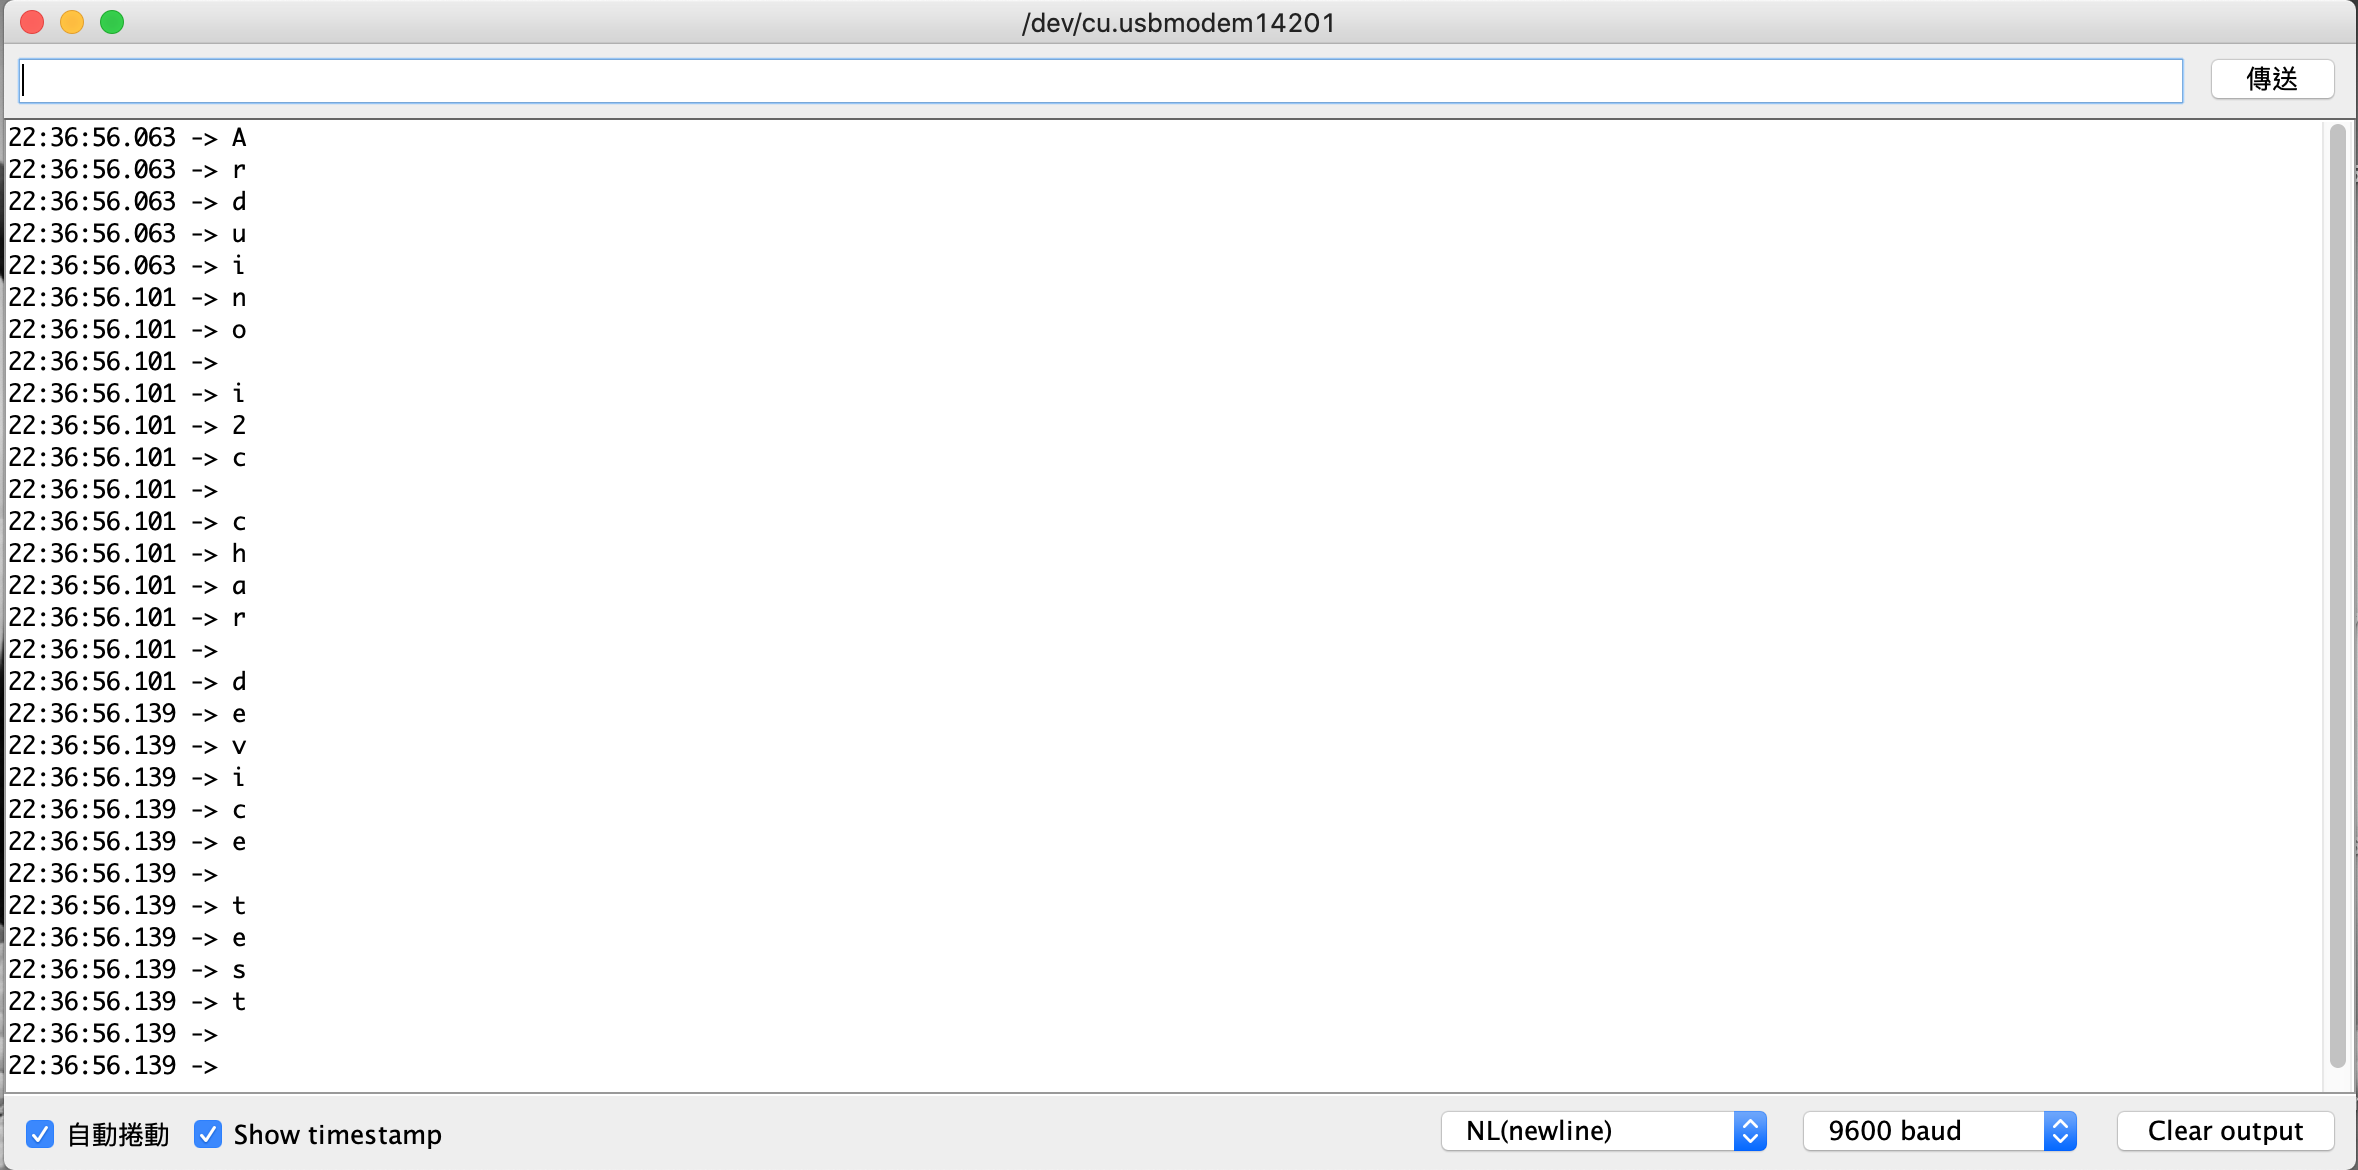
可以發現:這邊的 open 跟 write 其實都是同樣的系統呼叫,但實際上不是在讀寫儲存裝置上的檔案,而是在做 I2C 的傳輸。這件事字元驅動程式的精神,也是 UNIX 中 Everything is a file 的哲學展現!
附錄
附錄 1:完整程式
#include <linux/module.h>
#include <linux/kernel.h>
#include <linux/init.h>
#include <linux/i2c.h>
#include <linux/string.h>
#include <linux/fs.h>
#include <linux/slab.h>
#include <linux/cdev.h>
#include <linux/device.h>

#define ARDUINO_DEV_NAME "arduino"
static struct class *arduino_class = NULL;
static dev_t dev = 0;

struct arduino_i2c_cdev {
    struct i2c_client *client;
    struct cdev cdev;
};

static ssize_t arduino_i2c_open(struct inode *inode, struct file *filp)
{
    struct arduino_i2c_cdev *arduino = container_of(inode->i_cdev, struct arduino_i2c_cdev, cdev);
    if (!arduino) {
        pr_err("Cannot extrace aduino structure from i_cdev.\n");
    return -EINVAL;
    }
    filp -> private_data = arduino -> client;
    return 0;
}

static ssize_t arduino_i2c_write(struct file *filp, const char __user *buf, size_t count,
        loff_t *offset)
{
    struct i2c_client *client = filp -> private_data;
    if (!client) {
        pr_err("Failed to get struct i2c_client.\n");
    return -EINVAL;
    }
    for (int i = 0; i < count; i++) {
        i2c_smbus_write_byte(client, buf[i]);
    }
    return 0;
}

struct file_operations arduino_i2c_fops = {
    .open = arduino_i2c_open,
    .write = arduino_i2c_write,
};


static int dummy_probe(struct i2c_client *client, const struct i2c_device_id *id)
{
    pr_info("Dummy device is being probed.\n");
    char *info = "Hello, Arduino!";
    for (int i = 0; i < strlen(info); i++) {
        i2c_smbus_write_byte (client, info[i]);
    }

    int err = 0;

    err = alloc_chrdev_region(&dev, 0, 1, ARDUINO_DEV_NAME);
    if (err < 0) {
        pr_err ("Failed in alloc_chrdev_reion for arduino.\n");
    goto out_alloc_chrdev;
    }

    arduino_class = class_create(THIS_MODULE, ARDUINO_DEV_NAME);
    if (!arduino_class) {
        pr_err ("Failed to create sysfs class.\n");
    goto out_sysfs_class;
    }

    struct arduino_i2c_cdev *arduino = kzalloc(sizeof(struct arduino_i2c_cdev), GFP_KERNEL);
    if (!arduino) {
    pr_err("Failed to allocate memory.\n");
        goto out_oom;
    }
    arduino -> client = client;

    cdev_init(&(arduino -> cdev), &arduino_i2c_fops);
    arduino->cdev.owner = THIS_MODULE;
    err = cdev_add(&(arduino -> cdev), dev, 1);
    if (err) {
    pr_err("Failed to register cdev.\n");
        goto out_cdev_add;
    }

    struct device *device = device_create(arduino_class, NULL, dev, NULL, ARDUINO_DEV_NAME);
    if (!device) {
        pr_err("Failed to create device entry under sysfs.\n");
    goto out_device;
    }
    i2c_set_clientdata(client, arduino);
    return 0;

out_device:
    cdev_del(&arduino->cdev);
out_cdev_add:
    kfree(arduino);
out_oom:
    class_destroy(arduino_class);
out_sysfs_class:
    unregister_chrdev_region(dev, 1);
out_alloc_chrdev:
    return err;
}

static int dummy_remove(struct i2c_client *client)
{
    pr_info("Dummy device is removing.\n");
    struct arduino_i2c_cdev *arduino = i2c_get_clientdata(client);
    device_destroy(arduino_class, dev);
    cdev_del(&(arduino->cdev));
    kfree(arduino);
    class_destroy(arduino_class);
    unregister_chrdev_region(dev, 1);
    return 0;
}

static struct of_device_id dummy_id_tables [] = {
    { .compatible="arduino", },
    { }
};

MODULE_DEVICE_TABLE(of, dummy_id_tables);

static struct i2c_driver dummy_drv = {
    .probe = dummy_probe,
    .remove = dummy_remove,
    .driver = {
        .name = "dummy device 0.1",
    .owner = THIS_MODULE,
    .of_match_table = dummy_id_tables,
    },
};

module_i2c_driver(dummy_drv);
MODULE_LICENSE("GPL");
(其實這個程式有非常多可以改進的地方。比如說:如果有兩個程式同時讀這個驅動程式,那要怎麼避免 race condition?)
附錄 2:Makefile
PWD := $(shell pwd)
KVERSION := $(shell uname -r)
KERNEL_DIR := /lib/modules/$(shell uname -r)/build

MODULE_NAME = dummy_i2c_chrdrv
obj-m := $(MODULE_NAME).o
ccflags-y += -std=gnu99

all:
    make -C $(KERNEL_DIR) M=$(PWD) modules
clean:
    make -C $(KERNEL_DIR) M=$(PWD) clean
後記
從這個例子可以發現:即使看起來很簡單的裝置驅動程式也可能會弄得很長。以 I2C 為例,直接用 i2c-dev 這個內建的字元驅動程式,搭配 ioctl 就可以對某條 I2C 上的裝置進行讀寫。在 2018 年的 ELCE 中,有一個演講為 How to Avoid Writing Device Drivers for Embedded Linux,大致上就是在說明如何使用這類現成的裝置驅動程式,來避免重造輪子。
不過,就實際體會驅動程式的實作來說,這也算是個有趣的體驗。因為搭配 Arduino 之後,就真的很有跟裝置互動的感覺 (至少相較於個人電腦上寫字元驅動程式來說)。